I've been posting some ideas and things I do during the last couple of weeks of school. This is a final exam that I created for my beginning orchestra to go along with the SLO (Student Learning Objective) I have been working on all year. At the beginning of the school year, I gave students a pre-assessment on rhythm to determine their level of ability, then I divided the class into high level learners, middle-level, and lower-level learners. By the end of the school year, I wanted every student in my class to reach proficiency (writing, labeling, and performing) on whole notes, half notes, quarter notes, eighth notes, dotted quarters, and corresponding rests. This final exam helped me to determine their final level of proficiency. In one of my beginning classes, every student passed the test and I was feeling good, but then in my other beginning class, I had 4 or 5 students fail the test and I felt like I failed. I still need to work on differentiation to reach the kids who really struggle.
Students worked on this exam while I held a playing test on the rhythms at the bottom of the page. For the playing test, I listened to each student individually and I let them choose 2 out of the 3 rhythms to perform. They were sight-reading these rhythms, but the last students to perform did have an advantage after hearing the rhythms performed previously.
This is the 2nd page of the exam. I wanted to be sure that all beginning students knew these basics about fingering and they did very well.
This year, I decided to finally get more organized with instrument rentals and inventory. There have been plenty of times when I wanted to know who was assigned to which cello and I didn't have that information readily accessible. My orchestra has grown by 349% over the last 3 years and it has become necessary for me to keep better track of these things.
At the start of the year, I put white labels on my cello and bass racks and I labeled them with the students names so I knew who was playing each instrument. We did have a problem with the bows, however. Students were complaining about bows being switched around and it was frustrating to try to deal with issues like that when I want to get my class started. I also found that it is a pain to rip off labels because they don't always come off very nicely.
Here is what I set up to hopefully make inventory and instrument rentals way easier. I bought vinyl chalkboard labels and liquid chalk markers from amazon.com. These labels are great because they remove very easily and are still sticky enough to be reused. The liquid chalk markers are perfect because they are erasable, but only if I use water. Students can't erase or smudge the numbers easily and so far the things I have written with the markers have stayed and they look great.
I labeled each instrument with a small avery white sticker - right by the endpin. I wrote the same number on the chalkboard label so that each instrument will have its own assigned and permanent 'home.' I also labeled each bow with a white sticker and used the chalkboard labels to assign each bow a hook on the rack. Now, students won't be able to switch bows around without being noticed. I didn't show it in this picture, but I have been writing the student's name who has rented the instrument under the blue number. It looks way better than my other labels and I can quickly and easily change names if needed.
The school year has ended for me, and I already wanted to redecorate for the next school year. I found a cute little polaroid camera at WalMart.com called Instax. It takes really cute instant pictures and students are amazed when the photo pops right out of the camera. The film is not cheap (not too bad on Ebay), so I have been taking pictures sparingly, but it has been motivating for students to practice and do good things so that they can make it onto my new bulletin board: Wall Of Fame. I have only taken a few pictures to get the wall started, but once the new school year starts, I will be watching for students doing awesome things and I will honor them by taking their pictures and posting it on my Wall of Fame. By the end of next year, I expect that this bulletin board will be full of awesomeness.
I like to do games with my classes throughout the year. Usually my games have something to do with rhythm or note-reading, but at the end of the year, I just want my students to bond and be friends and I want them to have fun together. I found a few games on YouTube that were great fun. The dollar store sells lightweight balls that don't hurt that are perfect for these games. I also use lightweight dollar store balls for rhythm activities during the year, so it's nice to have them on hand.
GAME 1: Air-Darts using straws and Q-tips.
My straws were extra wide from IKEA and the cotton swabs were really cheap from the dollar store. This game doesn't last very long, and it worked better inside than outside. First I divided the class into 2 teams and let them try to get all of their darts on other side of my classroom, but this got old quick. After doing this game a couple times, I found that students had way more fun just running around and shooting each other. (It really doens't hurt) Then, we played 'tag' with the 'numbing' darts. As soon as a students was hit, they were to freeze. The last person wins the game.
GAME 2: Human Battleship.
We played this game with various rules. It's fun to change the rules after every game. We played one time with the rules in the video, then we changed it so that a ship was only 'sunk' if they had a direct hit from the ball without catching it.
GAME 3: Quiet Ball
There is no video for this game, but I'll try to explain how it works. I think this was my students' favorite game. First, have students get a chair, place it anywhere they want in the classroom, then stand on the chair. During the game, students have to be completely silent...no talking. If a student talks, they have to sit down on their chair and they are 'out.' To play the game, students throw the balls to who-ever they like and the person must catch the ball. If the ball hits a person and they do not catch the ball, they are 'out' and must sit down. The last person left on a chair is the winner. I also added the rule that there can be NO face hits. If a student gets hit in the face, the person who threw the ball is out. Also, no throwing the ball as un-neccessarily hard.
I have a confession. I don't like the last 2 weeks of school. Our concerts are over, the music has been collected and filed, and I need to entertain teenagers for 10 more days! My first temptation was to find a movie that I could somehow tie into my curriculum, but students see plenty of movies these days. I asked myself, "How do I want to end the school year? What do I want my students to feel and be inspired to do when they leave my classroom before summer break?" As I comtemplated these questions, I realized that I really want my students to be inspired. I want them to feel a passion for music and a desire to practice over the summer - just for fun. I want students to be excited to come back to my class next year.
So, instead of movies, I bought some new books: Fiddler's Philharmonic by Dabzinski, and Jazz Philharmonic by Randy Sabien. We had not explored any jazz music in my class, and I thought students would enjoy trying a new style.
Here's how I began the week. For my video of the week, I showed a YouTube clip from the group Simply Three. I wanted to students to see how a small ensemble can work together and play fun music.
For 3 days, I used the Jazz Philharmonic book as a class. We learned how to swing and practiced 3 different tunes from the book and performed them in different ways. Students were able to catch on to the swing rhythm very easily. I first had them play a D dorian scale with straight eighth notes...like marching. I then had them play the scale as if they were skipping instead of marching. The physical motion of skipping feels just like swing. For the first song we learned, I taught as the book suggested and did everything by rote. Students echoed exercises from the CD and we played the tunes and back-up parts. I do a lot of rote exercises in my class, but we had never learned a tune by rote. I feel my students really opened up and got into the new style. After that, I thought it would be easier for students to read the music, so I passed out the books. It actually took longer for students to learn the songs while reading the notes and I they didn't notice the overall ensemble as much. I would recommend using the book as directed.....do much of it by rote!
For another activity, I divided students into 8 groups and had them pick any piece from the book and work on it in their groups. Each group then performed in front of the class. I was hoping to show students that they can form their own small ensembles and play all kinds of different music.... and it's fun! I also did small ensemble work with the Fiddler's Philharmonic book in my advanced class. The nice thing about these books, is that students can be creative and every group can perform different variations using the same piece. I had some groups that added pizzicato, dancing, and even percussion by tapping on instruments.
I have learned that it is important to lay out your expectations before sending groups off to do their work. The first time I had students practice in small groups, I saw a lack of motivatoin, direction, vision, and focus. This time, I made sure that I communicated my expectations. I expect participation, leadership, respect, and hard work. Half of my class period was spent showing a YouTube video about leadership and having students complete a worksheet about the video. I believe this helped students stay on task when it was time to take on the responibility of learning a new piece on their own.
Each of my classes have been preparing for an orchestra festival to perform for judges. We haven't had a ton of time to prepare for this event...only 5 weeks to learn 3 new pieces. I posted a couple weeks ago about an article I read about the importance of practicing slowly, carefully, and accurately. (http://orchestrateacher.blogspot.com/2015/04/practice-slow.html) I decided to dedicate an entire week on having my students practice and rehearse slowly.
I began my "Slow-Mo Practice Week" by showing this video as my 'Video of the Week' from YouTube:
My junior high students thought this was a pretty funny video, but I do realize that this video may not be appropriate for younger kids. This video instantly got their attention and made them really interested to hear how I was going to tie this into my class. During the slow-motion replays in the video, I told students to notice the many details that they missed when seeing the ball thrown at actual speed.
Next, I told my students about the study I refered to in my post about practicing slowly. They were very surprised to learn that students who practiced the longest or with the most repititions were not the ones with the greatest accuracy and best performance. Just like the video, if we always play fast, it is easy to miss the little details.
We then carried on with rehearsal and practiced small sections very slowly. This went fine, but I realized that practicing slow is tedious, and it's not super fun. Students were able to do it, but I wanted to make Slo-Mo week more fun. That is when I decided to play a game every day so that students would be able to focus on slow practice and not get bored. I tried to think of things that are fun to do slowly, and I had some trouble thinking of things at first. Then I realized that some people enjoy eating yummy things slowly so that they can enjoy every bite. I remember when I was in elementary school, students would bring treats on their birthdays. Sometimes, I would eat my treat extra slow so that I could still be enjoying my treat while everyone else was done and back to doing school work.
On Tuesday, I slowed up to class with a huge bag of Dum Dum suckers and students were instructed to take one and NOT eat it. Dum Dums are perfect to use for checking position, so before I used it as an object lesson about practicing, we did our warm-ups in slow motion using the suckers. Violin and viola students balanced the suckers on their instruments and had to play without them falling off. Cello and bass students had to keep the suckers on top of their elbows as they played. Wow - this really helped students fix position! I nag about position all the time, but this exercise helped me realize that students can be even better at keeping their instruments up. They all looked and sounded amazing duirng our slow warm-ups...and they didn't get bored because they were so focused on keeping their suckers off the floor.
After warm-ups, we played a little game for the rest of the rehearsal. I reminded students about the benefits of practicing slowly and carefully....just as slowly as some people eat candies and things. After taking off candy wrappers, students had to keep the suckers in their mouths and try to make them last the longest. Students who had the biggest sucker left at the end of class would win. This may seem a bit pointless, but because of this little gimic, I was able to keep students practicing slowly and focusing all through class. Plus, with suckers in their mouths, they were extra quiet. :)
On Wednesday, I brought my Jenga game, because that is a game that must be played carefully and slowly. I divided students into teams by section, then I had them take turns pulling out a jenga block throughout the rehearsal. This was useful, because there were times I needed to have one section play a few measure slowly over and over. As they completed this task, other sections were able quietly come up and keep the Jenga game going, so they didn't get bored.
On Thursday, I brought a game called 'Suspend.' It is another game that has to be played slowly and carefully. We played this game thoughout the rehearsal. I had every piece worth points, so every time that a team was able to add to the wire without it falling, they could get points. The team with the most points won.
These games helped students internalize the idea that practicing slowly is important and beneficial. I challenged students to go home and play each of their pieces slowly 2 times each with extreme focus so they could fix mistakes before they happened. Many students reported to me about their efforts at home and they felt they had improved. I could have made this a required practice assignment, but chose not to since we were having a playing test the next day.
On Friday, I listened to every one of my students individually for a playing test. I was really impressed with their progress and I feel this week of focusing on SLO-MO practice was worthwhile.
I found it really interesting that longer practice time and more repititions did not show huge improvements. Practice needs to be done carefully and students need to know that they must NOT practice their mistakes over and over. This is one reason why I don't do grading based practice time or practice cards. We really should be focusing on the results of practice and this can be done by giving practice assignments that require a specific accomplishment.
I just made this little poster for my classroom to help remind students about the need to practice carefully and slowly:
I was reviewing position with my students last week and I noticed that I have a few students who still try to play with collapsed knuckles in the left hand. We do finger exercises to strengthen the knuckles, but there are always some students who struggle and try to play with collapsed knuckles....especially cellists. This causes many problems with technique and intonation. I always nag students to fix position and keep the hand rounded, but I thought of this little demonstration to help them realize the importance of proper position and the importance to play using finger-tips.
First, I told all students to pretend their right arms were cello or bass fingerboards and to hold their arm in front of them. With their left hand, I asked them to demonstrate a correct cello position on their arm...only with collapsed knuckles. I reminded students about how we never want to squeeze with our thumbs, and how we 'pull-in' with our arms to add the necessary weight to get the strings down. Students were able to feel that their thumbs were loose...and they could feel the lack of effectiveness of their collapsed knuckles when sinking in. We then did the same exercise...only with a rounded hand with fingertips on the arm. Wow...right away, students could FEEL the difference with the fingertips sinking into their arms. There was more focus with the finger-tips and students could see why it was so much more effective to play using a rounded hand with strong finger-tips. This demonstration really helped students have the desire to fix position and play correctly. I saw them checking their own position frequently throughout the lesson and I immediately heard a huge improvement in tone and intonation. Try it!
I'm super excited to be presenting 2 sessions at the NAfME National In-Service Convention in Nashville! I submitted a couple of ideas back in December, and I was pretty surprised to find out that I was selected to be a presenter. The convention is in October 2015. Here are the details of the orchestral sessions:
Now that the year is almost over and my beginners are getting pretty proficient with rhythm and note-reading, I have really started focusing on bowing. I have noticed that the bowings get quite complex in the method book that I use, and difficult bowings definitely add a level of difficulty to the exercises.
We were just learning a tricky bowing with a tie, and I wanted to be sure all students were accurately reading and interpreting bow markings. I created this exercise that corresponds to a line in our method book. This was super easy to throw together and I believe that this exercise would work as a rehearsal technique on any other short tricky passage of music.
The exercise is really just one measure from an exercise in our method book...over and over to fill up the page. I took away the bowings in the first measure so students could focus solely on notes and rhythm. In the second measure, I wrote the bowing from the method book for students to read. For the remaining measures, I had students create their own bowing varations. I then asked students to play that measure over and over with the different bowings that they created. Because students were writing their own bowings, I knew students were reading and interpreting the bow markings. Students were quickly able to determine that some bowings made the measure more difficult to play, while other bowings made it easier. I love this exercise because students were practicing the notes and rhythms over and over in an interesting way...plus they really started to understand bowing technique.
To help all of my classes (all levels) understand the importance of uniform bowing, I had them close their eyes and listen to me play scales with different bowings (separate notes, slur 2, slur 4, slur and separate). They were to listen and tell me what bowing I was using on my scale. It was very easy for them to hear whether I was slurring or using separate bows. This helped students understand that bowings really are important and we want a uniform sound through-out the orchestra. Different bowings DO make different sounds...so we must read and perform what is written as a group.
I just completed a couple of multi-level supplemental pieces for beginning orchestra. I really wish that more music came with more than one level of diffulty. When I first start my beginners, I have some in my class who have never touched an instrument, and some students who have already played for 1/2 a year. In order to keep everyone interested, I like to use multi-level pieces so that all can participate at the same time. I have found that this method also keeps the brand new beginners motivated to practice so that they can learn the 'hard' parts. My class moves at a quick pace thanks to the multi-level pieces that I have accumulated.
When teaching a piece with 3 parts for each instrument, I always start with the more basic part 3. That way, the advanced kids are helping the beginners and everyone can learn it very quickly. Once we have the basic part down, we add the more advanced parts.
One piece I just finished is called 'Caterpillar March.' Parts 2 and 3 are all open D or open A - so it is very easy for students who are just starting to read notes. Part 3 is pizzicato, and students get to slap the fingerboard for a little percussion effect during the rests. Part 2 is still just open strings, but with a more advanced rhythm and students are practicing smooth string crossings. Part 1 focuses on good hand shape and good intonation as the melody goes from G (all fingers down with good hand shape) down to open D.
The other piece I finished is called 'Epic Shuffle'. This piece is reinforcing the notes from open D to open A (so the whole thing only has 5 notes). I found that some beginners lift every single finger every time they change notes. I wrote this piece specifically to help teach students to keep fingers down.
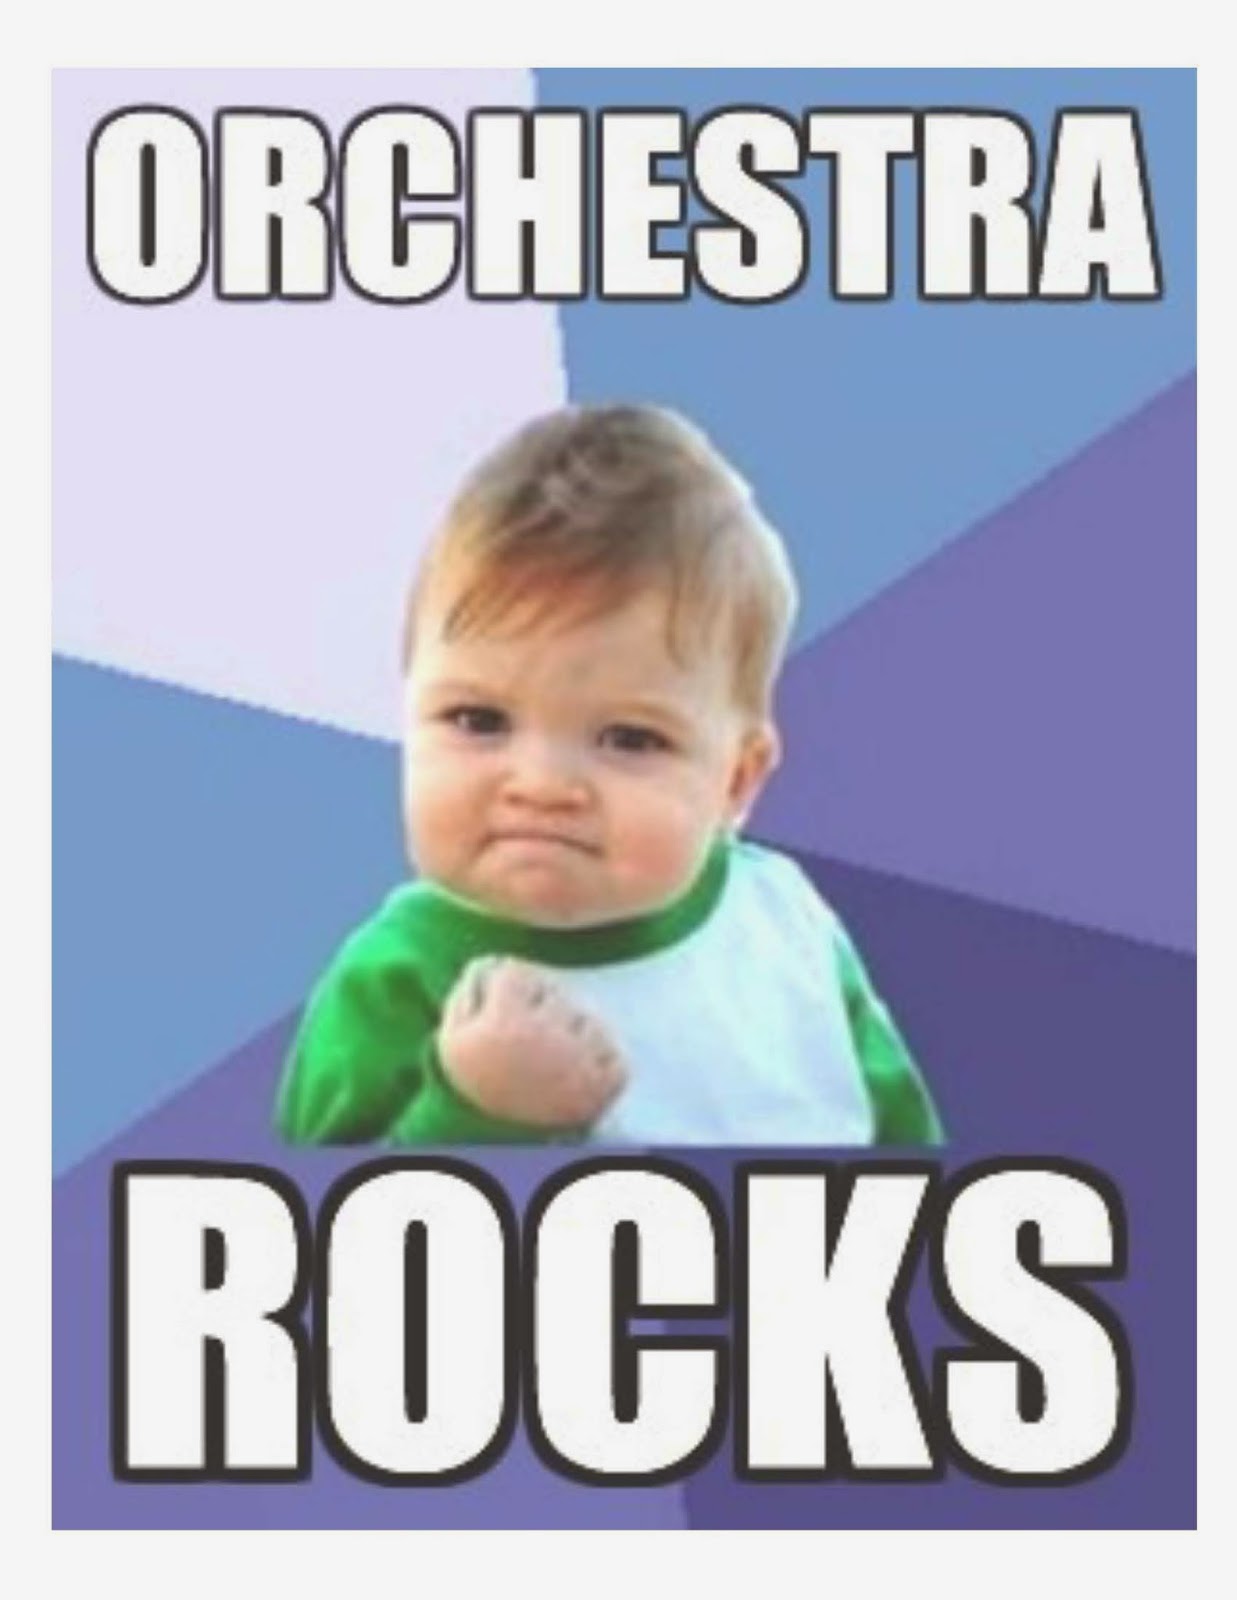
I always make posters for students to hang on their lockers when the 6th graders come to tour our school. That way, they see ads for orchestra all over the place. My first time recruiting, I had students make their own posters for their lockers, but this caused a few problems. Some posters were mean-spirited and it caused contention between the band and the orchestra students. I don't like to create stress and tension between the fine arts groups, so now I just make my own posters every year. I made some in Microsoft Publisher, and some at memegenerator.com. Here are a few samples:
Recruiting has always been a little bit stressful for me. Let’s face it, we need numbers for our programs to be stable! When I started at my current school 3 years ago, I had 63 total orchestra students in 3 grades. After recruiting, I was able to grow the program to 101 students the next year. This year, my program grew again to 155 students. Next year, I will have around 210.
I follow a recruiting agenda/program every time I go recruiting and it has been working pretty well for me. During my first year, I was about to take my 3rd year advanced orchestra to the elementary schools to recruit, but my beginners were sounding really good, and I realized that it would be better to bring students only 1 year older than the students I was recruiting. That way, many of the students at the elementary schools would recognize and know students that are in my orchestra.
Recruiting is really a year-long process. I really don’t think my program has grown over the last few years solely on my recruiting style. Word of mouth has been huge for me. If students know you as a fun and successful teacher, they tell friends. After concerts, parents tell other parents about your program. It is important that every performance/event that you do all year creates a little buzz. After my last concert, a few parents posted short clips of my concert on facebook and raved about the concert. Facebook is a great way to reach out and connect with people. I created a facebook page for my school orchestra where I can promote my class and post things that create good public relations with people in my area. I also make sure that any big event I have with my orchestra is in the newspaper, so we were featured in the newspaper (in print and online) twice this year. All of these things help with recruiting.
I begin preparing my recruiting program right after our Christmas Concert. This is when students can really start learning some fun music! It has worked really well for me to bring my beginners because once they go through that busy day for 4 performances and lunch together, they bond and become better friends - which makes them like orchestra even more. Plus, since I take beginners, I can focus on festival music in my more advanced classes.
As recruiting time draws near, we begin running the program over and over and make sure it lasts around 20 minutes. I also rehearse the set-up. Students have to be able load buses quickly, unload, set up chairs and stands, and set up instruments at 4 different schools. We have a tight schedule, so students need to be able to do all of the set up in 5 minutes. I took all 75 of my beginners this year, and I was really worried about them taking too long to set up, but we practiced setting up chairs and everything in class, and they were super quick! We were able to easily stay on schedule.
Our program for this year was as follows:
1. As 6thgraders enter the gym, we are already set up and we perform ‘Appalachian Hymn’ by Soon Hee Newbold over and over until the elementary students are seated and ready.
2. I welcome students and tell them that they have an exciting opportunity. I say that at this same time last year, the students behind me were sitting right there in the audience, and at that time, they decided they wanted to be part of something big! In just one year, they have been to build talent and skill and now look what they can do!
3. I tell the audience that orchestra is fun because music is fun and that they already know a lot about music. I say, “I bet you can even recognize a whole bunch of different tunes” and I say I want to find who my music nerds are. We play little snippets from popular music on the radio, YouTube and movies. The audience raise their hands if they recognize and can name the piece. I give bumper stickers that I create for prizes, and funny nerd glasses for the ‘music nerds.’ (http://www.orientaltrading.com/spacey-eyeglasses-a2-83_5-11-0.fltr?xsaleSku=25/87400) For these movie snippets, I let my students volunteer to find some movie/popular music and play a short clip. This year, I had student soloists demonstrate short clips from Roar by Katy Perry, Star Wars, Harry Potter, and Mario Bros. video game. Then the entire orchestra played ‘Jurassic Park’ arranged by John Higgins (very easy version) and ‘Pirates on the Caribbean’ arranged by Longfield (easy). I made the Pirates of the Caribbean more exciting by having one student play the drum part on my little cajon box drum.
4. I show students my electric violin and demonstrate some of the sound effects you can create with a string instrument (pizzicato, spicatto, slides, and whistles). I tell the audience that we can play many different types of music in orchestra, and I play part of a Lindsey Stirling song on my electric while students back me up by doing a percussion beat on their instruments.
5. I demo a tiny bit of ‘Devil Went Down to Georgia’ and then my orchestra plays ‘Fiddles on Fire’ by Mark Williams.
6. I tell the audience about the different instruments in the orchestra that they can choose from. I have students demonstrate each instrument with a short solo. Basses come to the front on the group. I have one bass student do a fun sounding rock-type solo, one bass student demonstrate a blues pizz., and another play jaws. As the Jaws music speeds up, all of my students scream on my signal and I have one student run around like crazy with this funny shark hat on his head. It’s pretty hilarious.
7. Orchestra performs ‘Dragonhunter’ by Richard Meyer
8. I explain the registration forms to the audience. I announce our last piece and invite students to come up after the performance to try any instrument they wish. (I prep my students to encourage students to try their instruments and to be very positive and encouraging…not ever correcting or criticizing)
9. We perform a quick little version of Viva la Vida with my cajon drum.
10. Audience experiments with instruments for 5 minutes until we clean up and head to our next school.
Here are the forms that I give to the 6th grade teachers to pass out to students after our performance:
Here's a link to a funny little video I used for recruiting this year for when students visited my school and were given a tour:


.JPG)
.JPG)




.jpg)


